Installing SQL Server 2008 on Windows Server 2008 R2
Before you install SQL Server 2008, read this post about installing the pre-requisites on Windows Server 2008 R2. Here’s the guide to installing SQL Server 2008 on Windows Server 2008 R2.
In this example I have also prepared a special SQL Service account named DBService.
Start the setup program.

Select Installation.

Select the New SQL Server stand-alone installation.

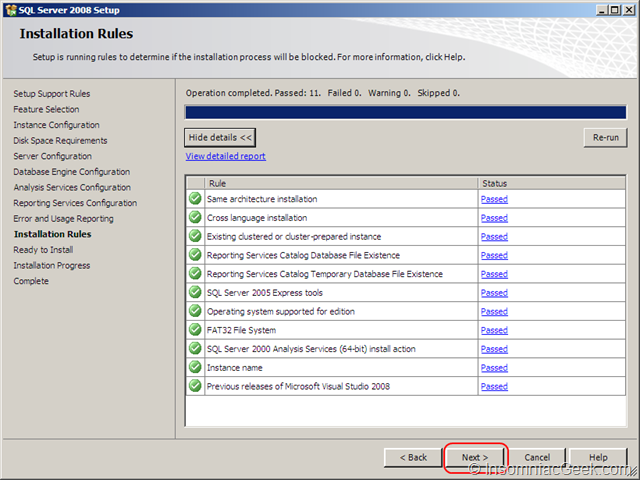
When the Setup Support Rules has identified all the rules, click Ok.
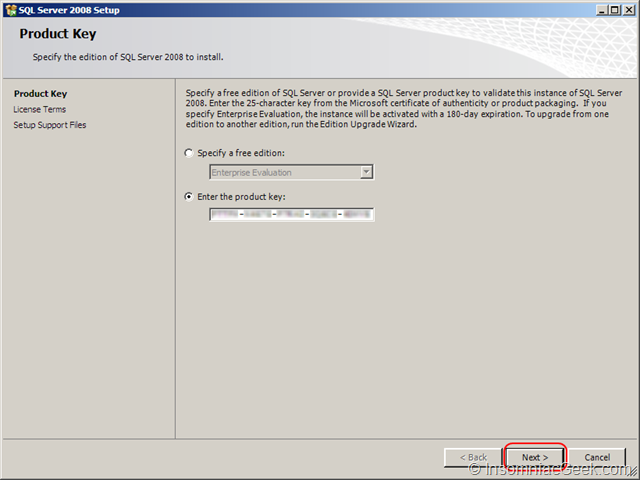
Enter your product key and click Next.
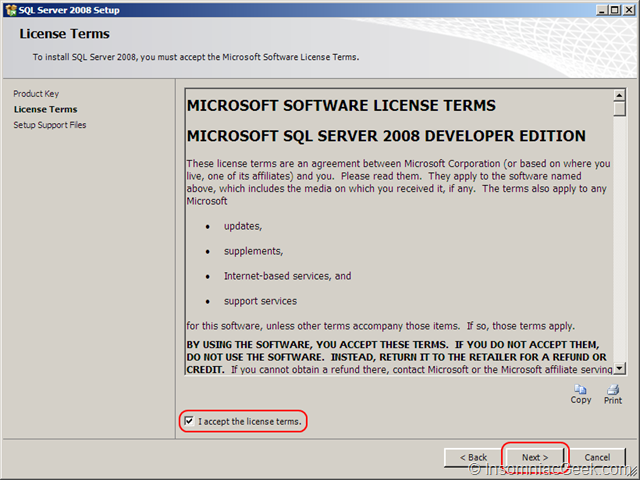
If you agree to the License Terms, check the box and click Next.

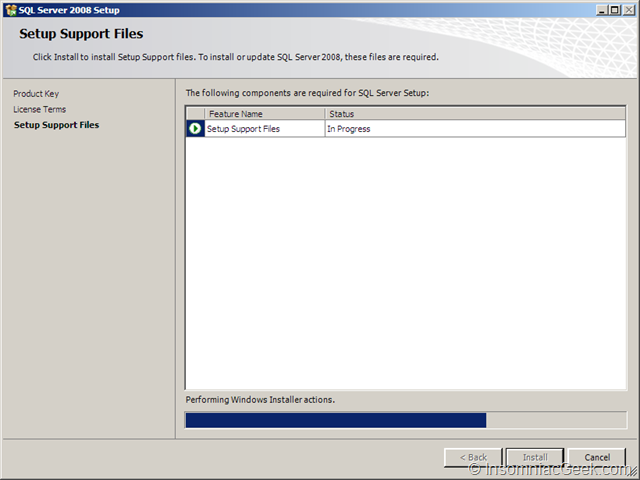
Click Install.
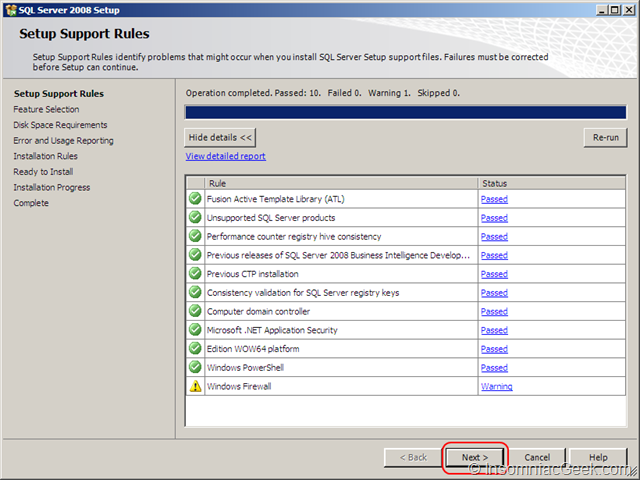
You will probably get a warning for the Windows Firewall. That is because some ports needs to be opened if you plan to access your SQL Server installation from outside. Read more at http://go.microsoft.com/fwlink/?LinkId=94001

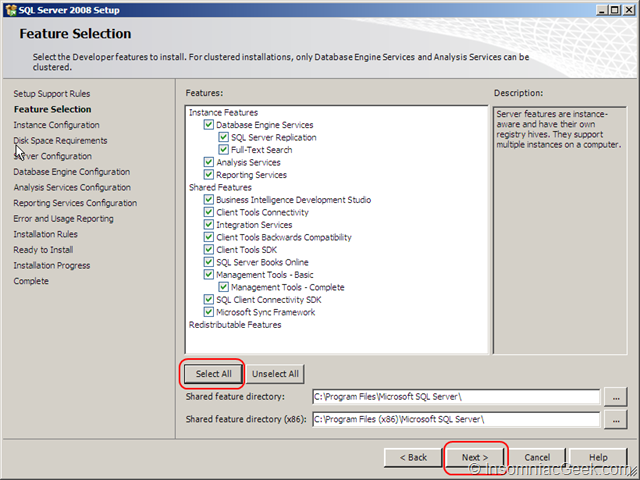
In this example I will install all features of SQL Server, but for your needs you may select only the features you will need.
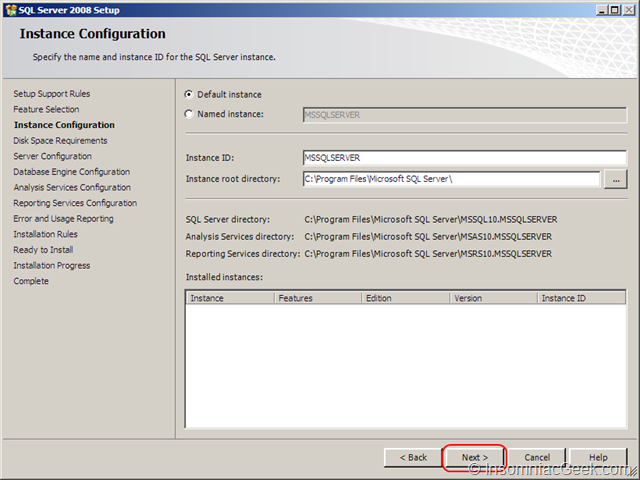
If you have no plans of changing the Instance name or the installation root directory, leave those as per default and click Next.
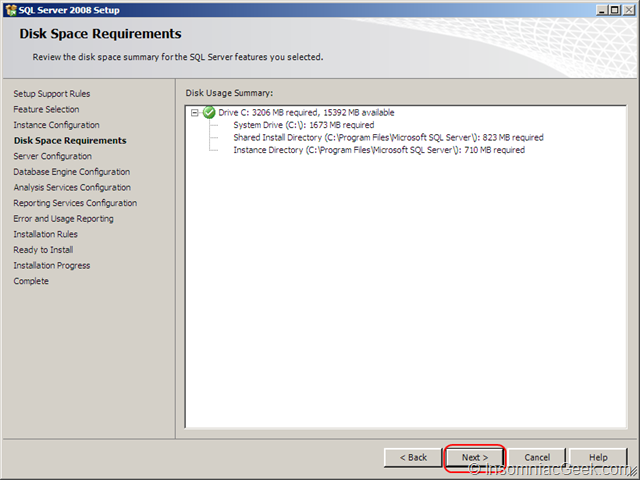
Click Next.
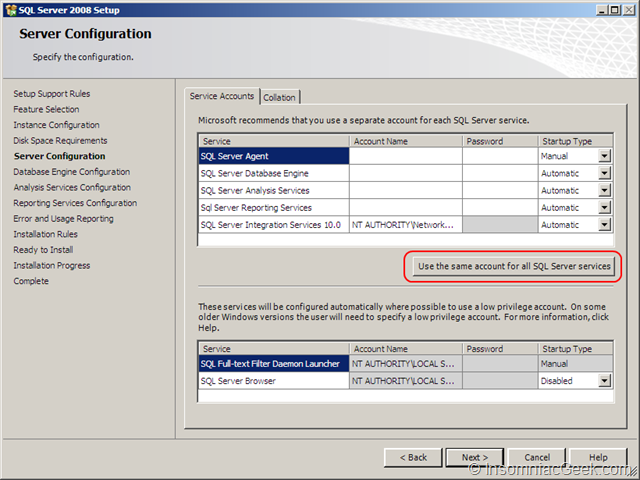
For this example, I will use the same service account for all SQL Server services. So click on “User the same account for all SQL Server services”.

Click Browse.
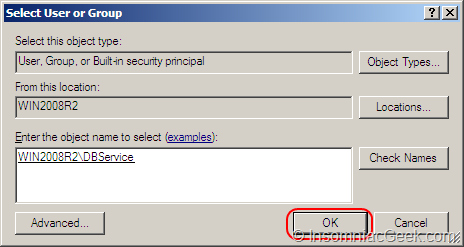
Enter your SQL Service account and click “Check Names” and then click Ok.

Click Ok.

Click Next.

Click Add Current User, click Add and enter the Administrators user group. Click Next.
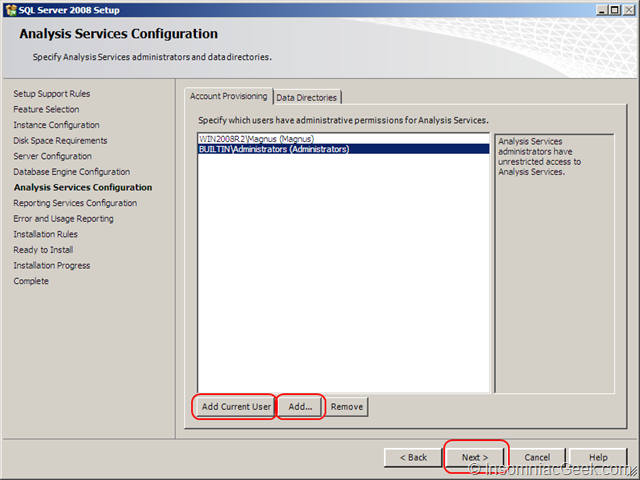
If you have selected the Analysis Services, click Add Current User and click Add.. and add the Administrators user group. Click Next.
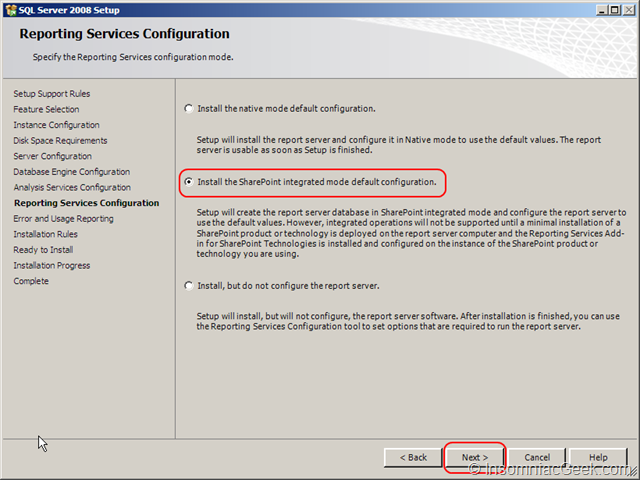
If you have selected the Reporting Services feature, choose which Reporting Services mode you want to use. In this example I will use the integrated mode. Click Next.
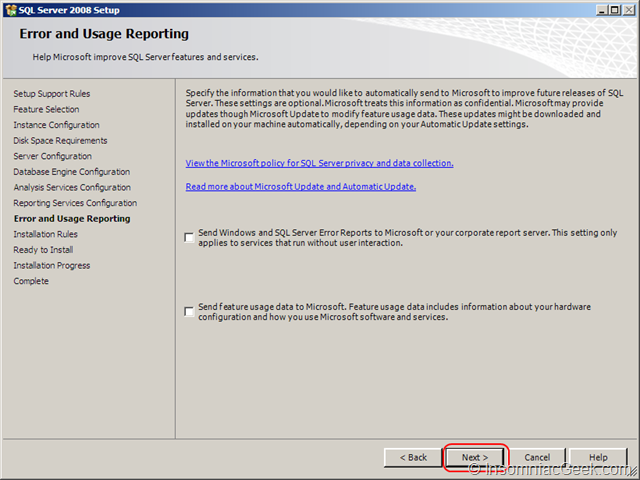
If you want to participate in the error reporting or usage data program, put a checkbox on those. Click Next.
Click Next.
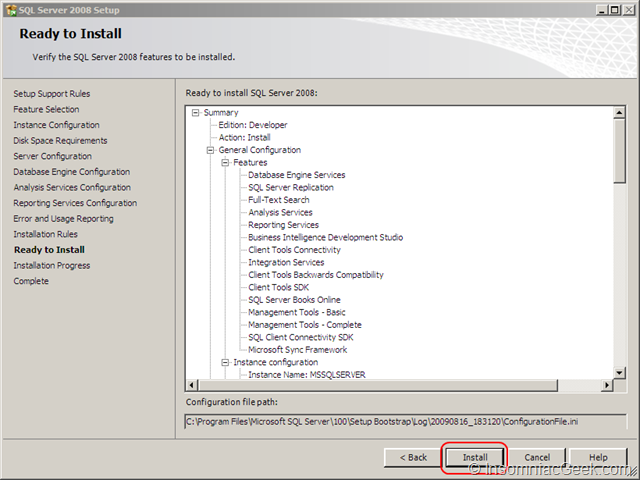
Click Install.
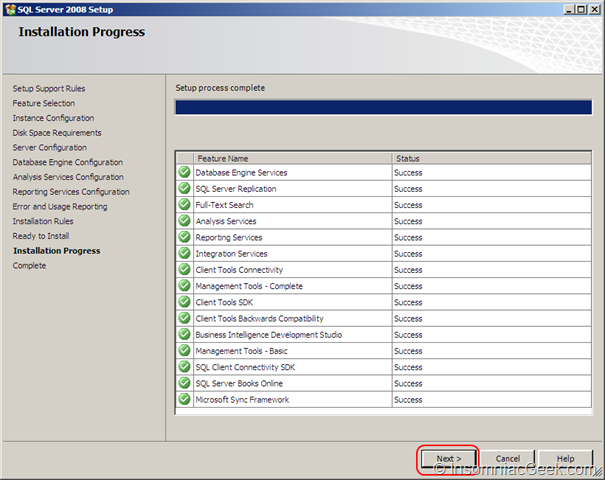
When the Setup Process has finished, click Next.

Finally, click Close.
If you plan to access your SQL Server from an external client, you will have to open some firewall ports.