Add Windows 8 Hub Tiles to your app using the DevExpress Windows 8 XAML Hub Tiles control
Introduction
This is an additional post to my DevExpress review posted here. In this post I will focus on how you can add Windows 8 Hub Tiles to your app using DevExpress Windows 8 XAML components.
Windows 8 XAML components
Unless you have been living under a rock for the last 2 years, it will not as a surprise to you that the new uCheckser interface paradigm in the Windows Store Apps is drastically different than the way Windows Desktop application has been looking for the last 20 years or so. DevExpress is now offering a new set of Windows 8 XAML based controls that perfectly falls into the new design language. In this mini review, I will be looking at the Hub Tile Components.
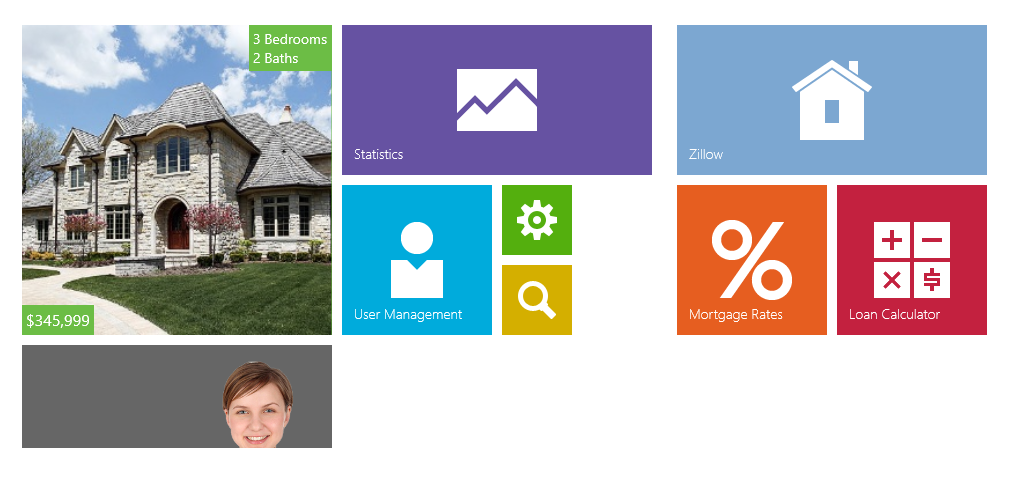
The first thing you will notice when you start Windows 8 is a “sea” of tiles that let you quickly get an overview and status of your most common application and start any of them. DevExpress is offering a new exciting component that lets you very easily mimic the Windows Start Screen; it’s called the Hub Tiles control.
Windows 8 Hub Tiles
In this demo I will be walk you through how to create a simple application that will benefit from the DevExpress Hub Tile component. It’s a simple recipe app with static data, but in a real world scenario it would either connect to a web service or at least a local database.
Creating a project
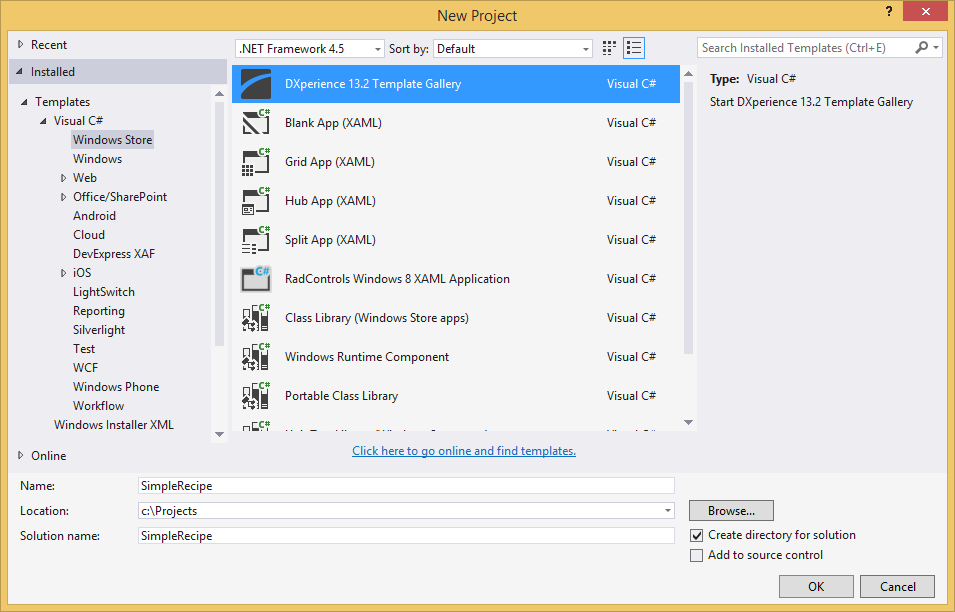
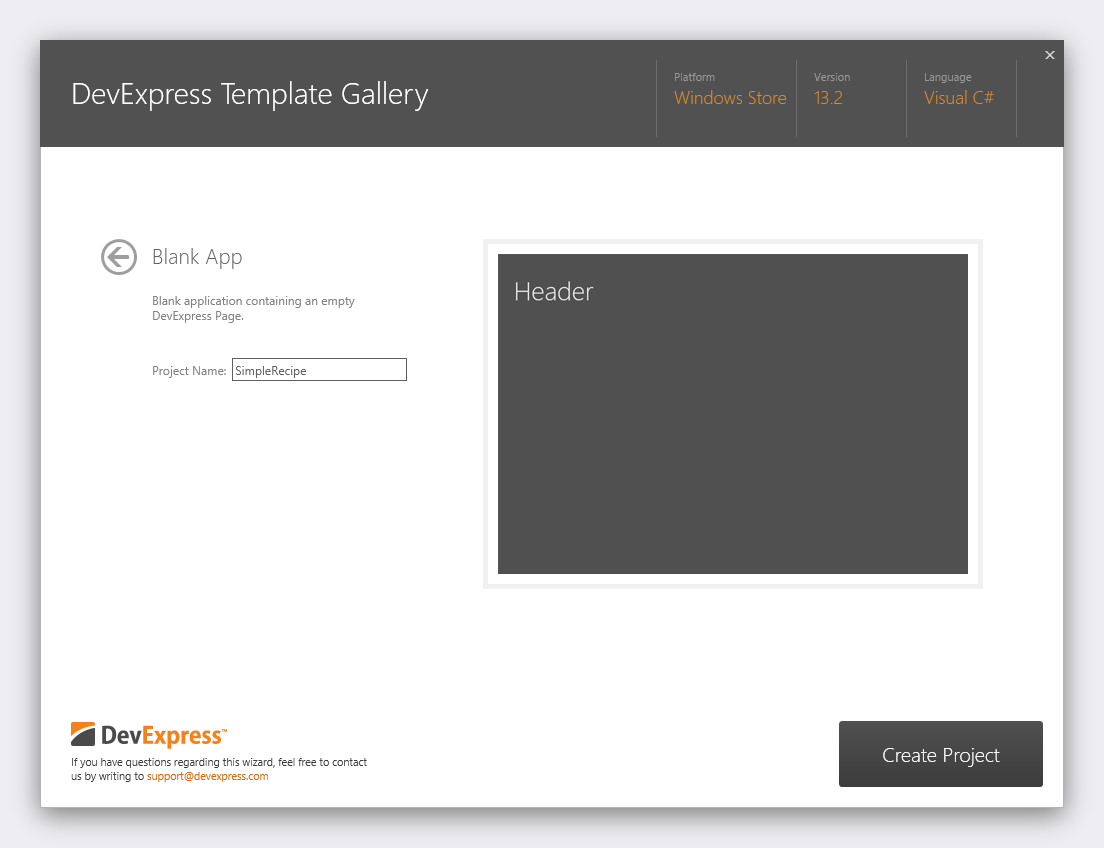
When creating a Windows Store app, DevExpress installs a handful of templates in the Template Gallery that makes the process even simpler.

A nice touch is that the template automatically create a MVVM (Model View ViewModel) based project, a paradigm that is very common in XAML based development. DevExpress provides base classes that makes data binding and INotifactionPropertyChanged events easily consumed.
So let’s first create a data source for our Hub Tiles. This is very convenient to do, so you can data bind the visual elements in the tile to some data.
1
2
3
4
5
6
7
8
9
10
11
12
13
14
15
16
17
18
19
20
21
22
23
24
25
26
27
28
29
30
31
32
33
34
35
36
public class Recipe
{
  public string Name { get; set; }
  public string Image { get; set; }
  public string Prep { get; set; }
  public string Cook { get; set; }

  public string Ready { get; set; }

  public ImageSource ImageSource
  {
    get { return string.IsNullOrEmpty(Image) ? null : new BitmapImage(new Uri(Image, UriKind.RelativeOrAbsolute)); }
  }
}

public static class Recipes
{
  private const string UriPrefix = "ms-appx:///SimpleRecipe";

  public static readonly List<Recipe> DataSource =
  new List<Recipe> {
              new Recipe {
                  Name = "New York Cheesecake",
                  Image = UriPrefix + "/Images/730824.jpg",
                  Prep="30mins",
                  Cook="1",
                  Ready = "7h 30min"
              },
              new Recipe {
                  Name = "Cream Cheese Frosting II",
                  Image = UriPrefix + "/Images/959805.jpg",
                  Prep = "10mins",
                  Ready = "10mins"
              }
          };
}
Let’s see how we easily can present this data in a Hub Tile.
First, let’s get an overview of the different type of tiles that are available:
- Slide Hub Tile. This is a tile that has 2 sides (front and back). It will slide up the contents of the data that it’s bound to in sequence.
- Swing Hub Tile. This tile also has 2 sides, but it “swings” the content back and forth.
- Hub Tile. A tile that has 2 sides (front and back). It will switch between the 2 sides automatically in sequence.
So let’s pick the Slide Hub Tile and see how we easily can bind it to our data.
1
2
3
4
5
6
7
8
9
10
11
12
13
14
15
16
17
18
19
20
21
22
23
24
25
26
27
28
29
30
31
32
33
34
35
36
37
38
39
40
41
<Layout:SlideHubTile Size="Large" Background="#FF6CBD45" Grid.RowSpan="2" ContentSource="{Binding Recipes}"
                      ContentChangeInterval="00:00:04.00" BackContent="{Binding Recipes}" AnimationInterval="0:0:7">
  <Layout:SlideHubTile.ContentTemplate>
    <DataTemplate>
      <Grid>
        <Image Source="{Binding ImageSource}" Stretch="UniformToFill" HorizontalAlignment="Center" />
        <Grid Background="#FF6CBD45" HorizontalAlignment="Right" VerticalAlignment="Top">
          <StackPanel Margin="4">
            <TextBlock FontSize="14" Text="{Binding Name}"/>
          </StackPanel>
        </Grid>
        <Grid Background="#FF6CBD45" HorizontalAlignment="Left" VerticalAlignment="Bottom">
          <StackPanel Margin="4">
            <TextBlock FontSize="16" Text="{Binding Cook, Converter={StaticResource stringFormatConverter}, ConverterParameter=\{0:H0\}}" />
          </StackPanel>
        </Grid>
      </Grid>
    </DataTemplate>
  </Layout:SlideHubTile.ContentTemplate>
  <Layout:SlideHubTile.BackContentTemplate>
    <DataTemplate>
      <ListView ItemsSource="{Binding}" SelectionMode="None" BorderThickness="0"
                Foreground="{Binding Foreground,RelativeSource={RelativeSource TemplatedParent}}">
        <ListView.ItemTemplate>
          <DataTemplate>
            <StackPanel>
              <TextBlock Text="{Binding Name}" HorizontalAlignment="Left" VerticalAlignment="Center" FontWeight="SemiBold" />
              <StackPanel Orientation="Horizontal">
                <TextBlock Text="{Binding Prep, Converter={StaticResource stringFormatConverter}, ConverterParameter=\{0\} Preparation}"
                              Margin="0,0,4,0" />
                <TextBlock Text="{Binding Cook, Converter={StaticResource stringFormatConverter}, ConverterParameter=\{0\} Cook}"
                            Margin="0,0,4,0" />
                <TextBlock Text="{Binding Ready, Converter={StaticResource stringFormatConverter}, ConverterParameter=\{0\} Ready}" />
              </StackPanel>
            </StackPanel>
          </DataTemplate>
        </ListView.ItemTemplate>
      </ListView>
    </DataTemplate>
  </Layout:SlideHubTile.BackContentTemplate>
</Layout:SlideHubTile>
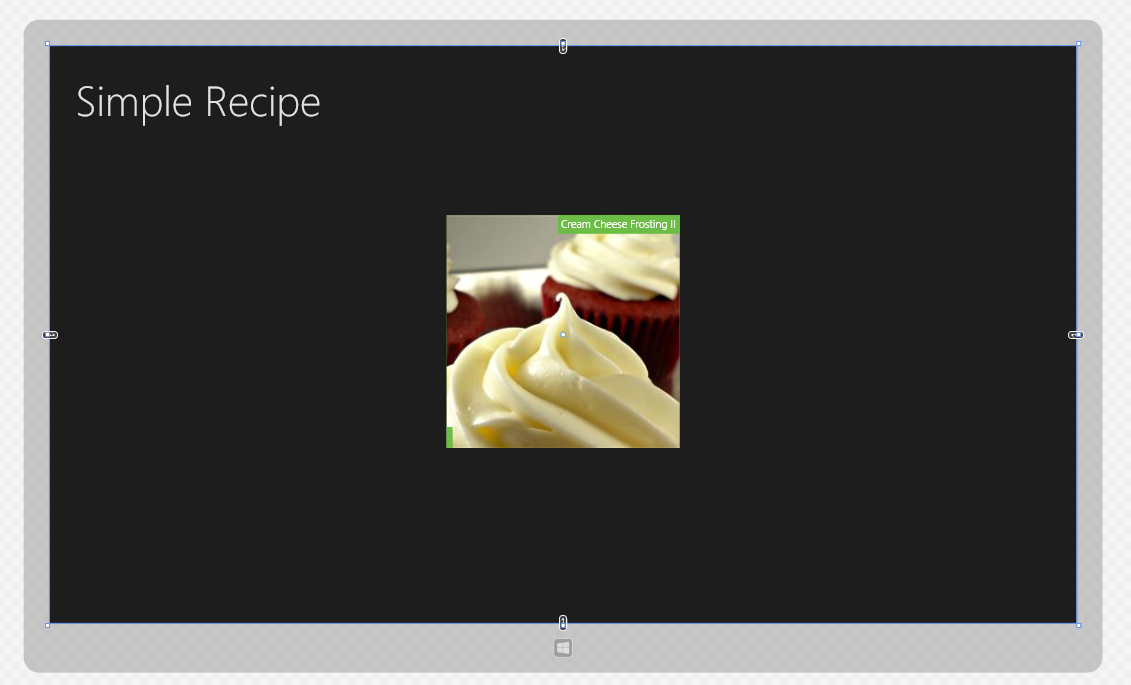
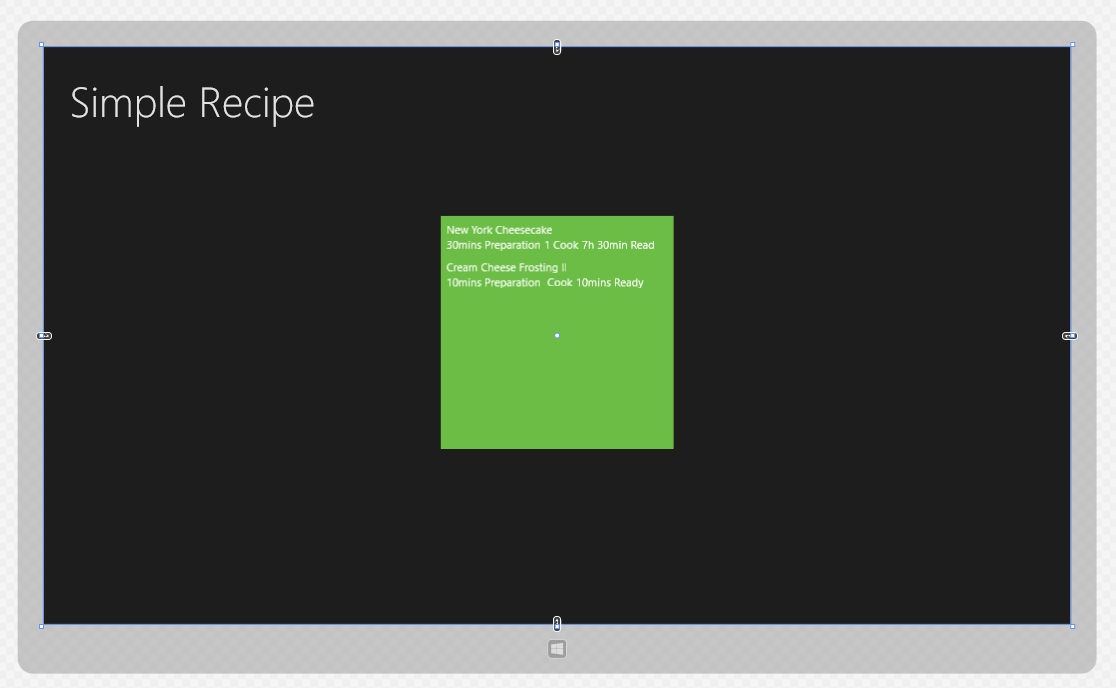
The result is a Hub Tile that will Slide the images of your recipe up within the tile:
Conclusion
I have found that the DevExpress Windows 8 XAML controls makes it very easy to implement the Windows Store user interface design language into your own application. It abstracts the tedious work of implementing Windows Store user controls functionality yourself.
Please take the 30 day trial a spin and see how easy it is to make your users having a great consistent Windows Store app experience.
Disclosure of Material Connection: I received one or more of the products or services _ mentioned above for free in the hope that I would mention it on my blog. Regardless, I_ _ only recommend products or services I use personally and believe my readers will enjoy._ _ I am disclosing this in accordance with the Federal Trade Commission’s 16 CFR, Part 255:_ _ “Guides Concerning the Use of Endorsements and Testimonials in Advertising.”_