How to determine setup version from within an ASP.NET page
I read on Stackoverflow that somebody needed the possibility to determine the MSI installer product version used when installing the ASP.NET application. My suggestion is to store the current MSI product version in the web.config file, and later read that from within the web application.
Here are the steps to do this.
Start Visual Studio 2008 and select File->New project.
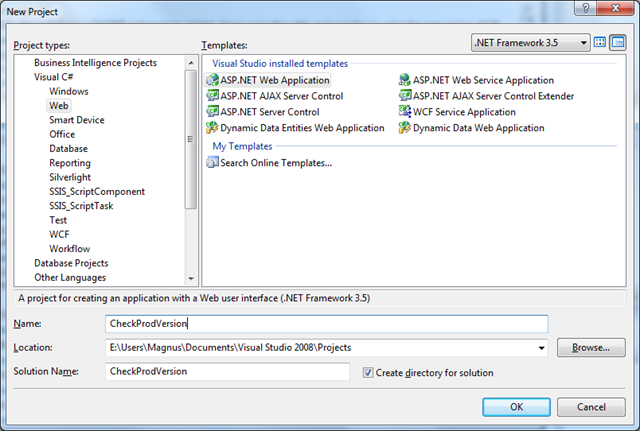
Select the ASP.NET Web Application template and choose a new for your project. Click Ok.
Open the web.config file and add the following lines within the
1
2
3
4
5
6
7
8
<?xml version="1.0"?>
<configuration>
...
<appSettings>
<add key="SetupVersion" value="x.x" />
</appSettings>
....
</configuration>
Add a simple Label control in the Default.aspx file to show the version infomation.
1
2
3
4
5
6
7
8
9
10
11
12
13
14
15
16
17
18
19
<%@ Page Language="C#" AutoEventWireup="true" CodeBehind="Default.aspx.cs"
Inherits="CheckSetupVersion._Default" %>
<!DOCTYPE html PUBLIC "-//W3C//DTD XHTML 1.0 Transitional//EN" "http://www.w3.org/TR/xhtml1/DTD/xhtml1-transitional.dtd">
<html xmlns="http://www.w3.org/1999/xhtml">
  <head runat="server">
    <title></title>
  </head>
  <body>
    <form id="form1" runat="server">
      <div>
        <asp:Label
          ID="lblVersion"
          runat="server"
          Text="Installed using Setup Version: "
        ></asp:Label>
      </div>
    </form>
  </body>
</html>
Add code in the Page_Load event to update the Label with the information from the web.config file.
1
2
3
4
5
6
7
8
9
10
11
12
13
14
15
16
17
using System;
using System.Collections.Generic;
using System.Linq;
using System.Web;
using System.Web.UI;
using System.Web.UI.WebControls;
using System.Configuration;
namespace CheckProdVersion
  {
    public partial class _Default : System.Web.UI.Page
    {
      protected void Page_Load(object sender, EventArgs e)
      {
        lblVersion.Text += ConfigurationSettings.AppSettings["SetupVersion"];
      }
  }
}
Add an Install Class to the project by right-clicking on the project in the Solution Explorer and select Add->New Item

Select the Installer Class and choose a name. Click Add.
Right-click the InstallerHelper.cs file in the Solution Explorer and select View Code. Add the following code:
1
2
3
4
5
6
7
8
9
10
11
12
13
14
15
16
17
18
19
20
21
22
23
24
25
26
27
28
29
30
31
32
33
34
35
36
37
38
39
40
41
  using System;
  using System.Collections;
  using System.Collections.Generic;
  using System.ComponentModel;
  using System.Configuration.Install;
  using System.Xml;
  using System.Globalization;
  using System.Linq;
  using System.IO;
  namespace CheckProdVersion
  {
    [RunInstaller(true)]
    public partial class InstallerHelper : Installer
    {
      public InstallerHelper()
      {
        InitializeComponent();
      }

      public override void Install(IDictionary stateSaver)
      {
        XmlDocument XMLDoc = new XmlDocument();
        string XMLFile = string.Format(CultureInfo.InvariantCulture, @"{0}web.config", this.Context.Parameters["TargetDir"]);
        XMLDoc.Load(XMLFile);
        if (this.Context.Parameters["ProductVersion"] != null)
        {
          XmlNode Node = XMLDoc.SelectSingleNode("//configuration/appSettings/add[@key='SetupVersion']");
          if (Node != null)
          {
            if (Node.Attributes["value"] != null)
            {
              Node.Attributes["value"].Value = this.Context.Parameters["ProductVersion"].ToString();
            }
          }
        }
        XMLDoc.Save(XMLFile);
        base.Install(stateSaver);
    }
    }
  }
Right-click the solution in Solution Explorer and select Add->New Project
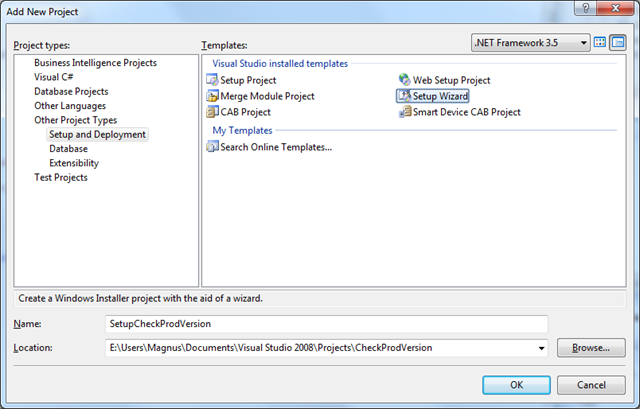
From the Project Type, select Other Project Types->Setup and Deployment and choose the Setup Wizard template. Enter a name for the Setup Project and click Ok.
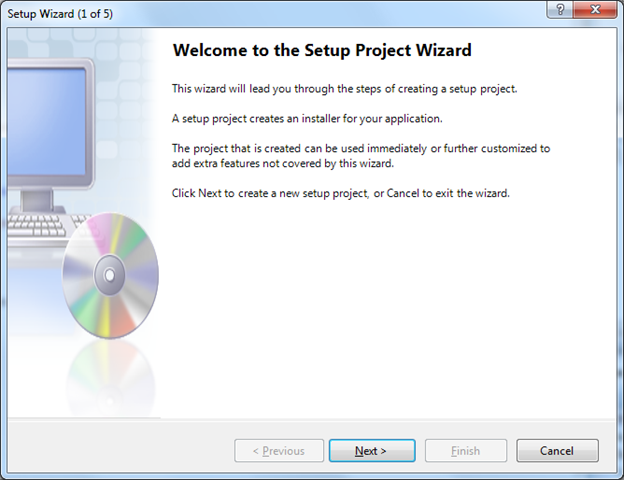 Click Next.
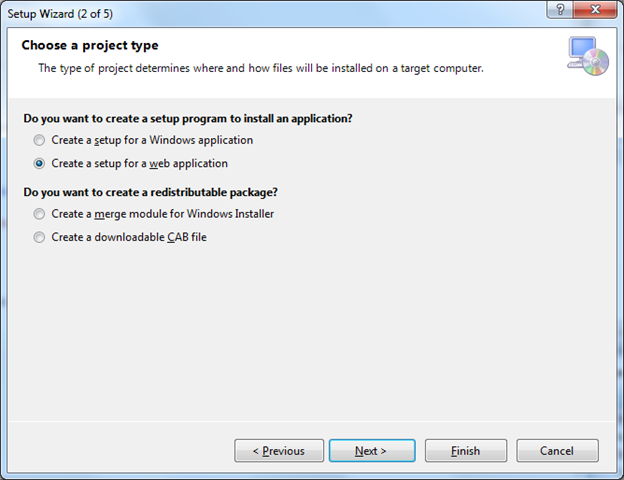 Select Create a Setup for a web application and click Next.
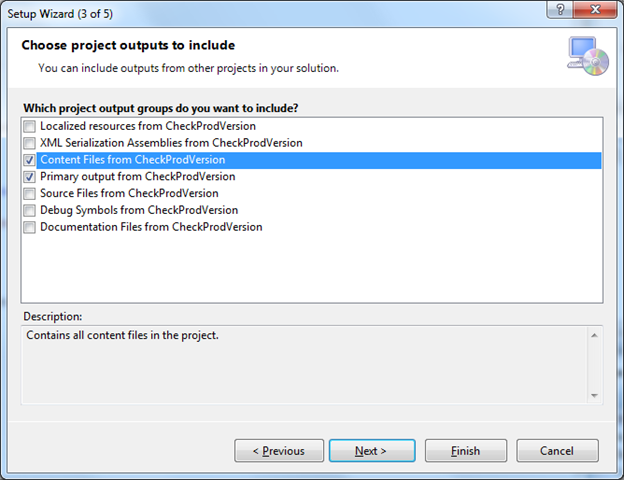 Select Content Files and Primary Output files. Click Finish
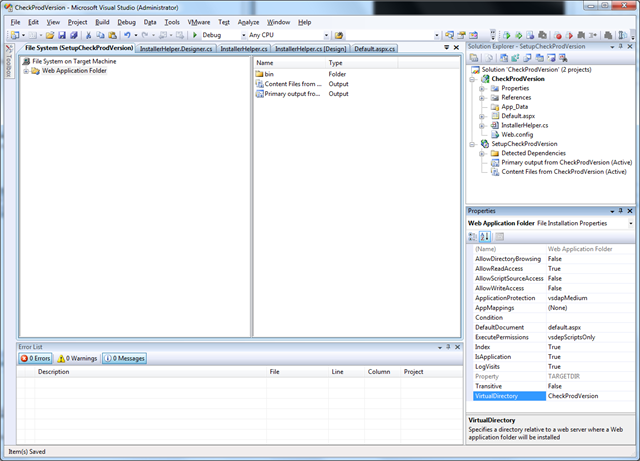
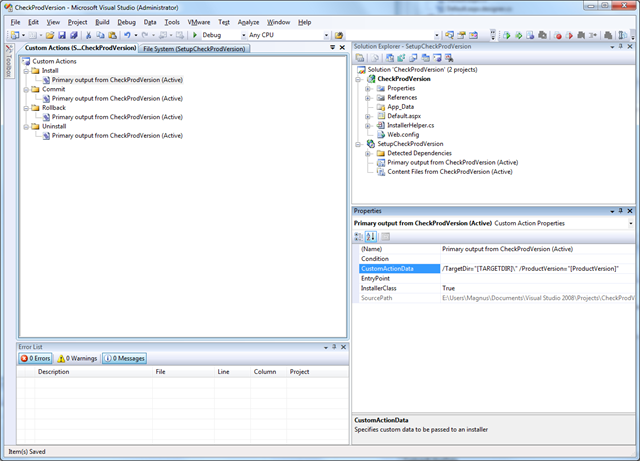
Click on the Web Application Folder and edit the Virtual Directory to set the name of your Web application. Right-click the Setup Project and select View->Custom Actions.
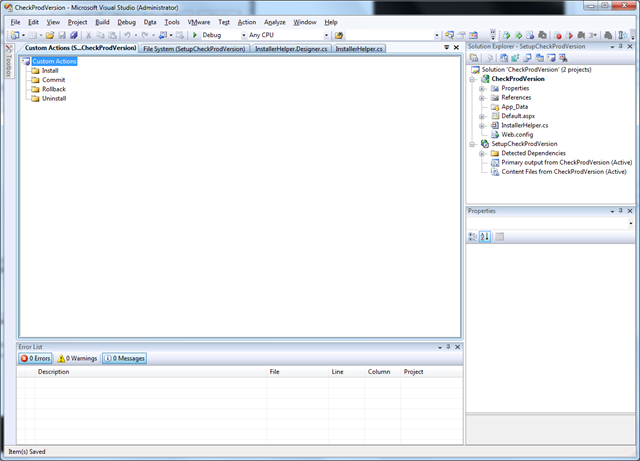
Right-click the Custom Actions node and select Add Custom Action.
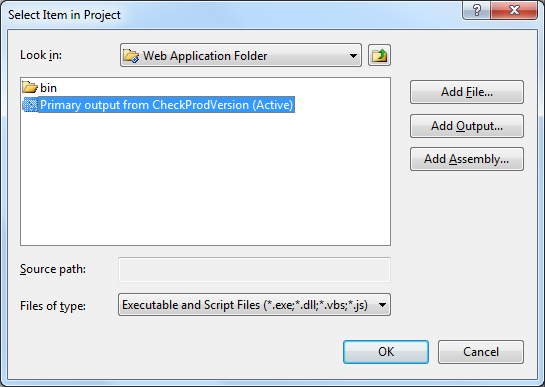 Select the Web Application Folder and select Primary Output. Click Ok.

Click on the Primary output from CheckProdVersion (Active) node and edit the property CustomActionData to contain this line:
/TargetDir=”[TARGETDIR]" /ProductVersion=”[ProductVersion]”
Build the solution. Right click on the Setup project and select Build.
Right-click on the Setup project and select Install. Follow the installation wizard and browse to your web application: http://localhost/CheckProdVersion

When you are updating the product version in the setup project, you will get this question:
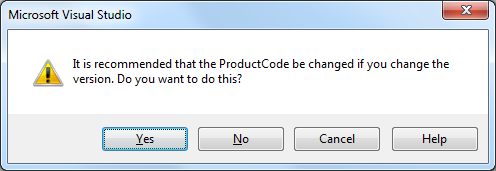 Click Yes.
Set the Setup Project property RemovePreviousVersions to True, rebuild the Setup and re-install to verify that the version can be updated.